
Pygame Word Clock
I’ve always had a fascination with clocks; they’re useful, they’re relatively easy to code, and there’s so many different and intriguing ways to represent the current time. One of my favourite clocks that I’ve seen in person is a Word Clock, where the current time is expressed in English rather than using digits. Let’s make one in pygame!
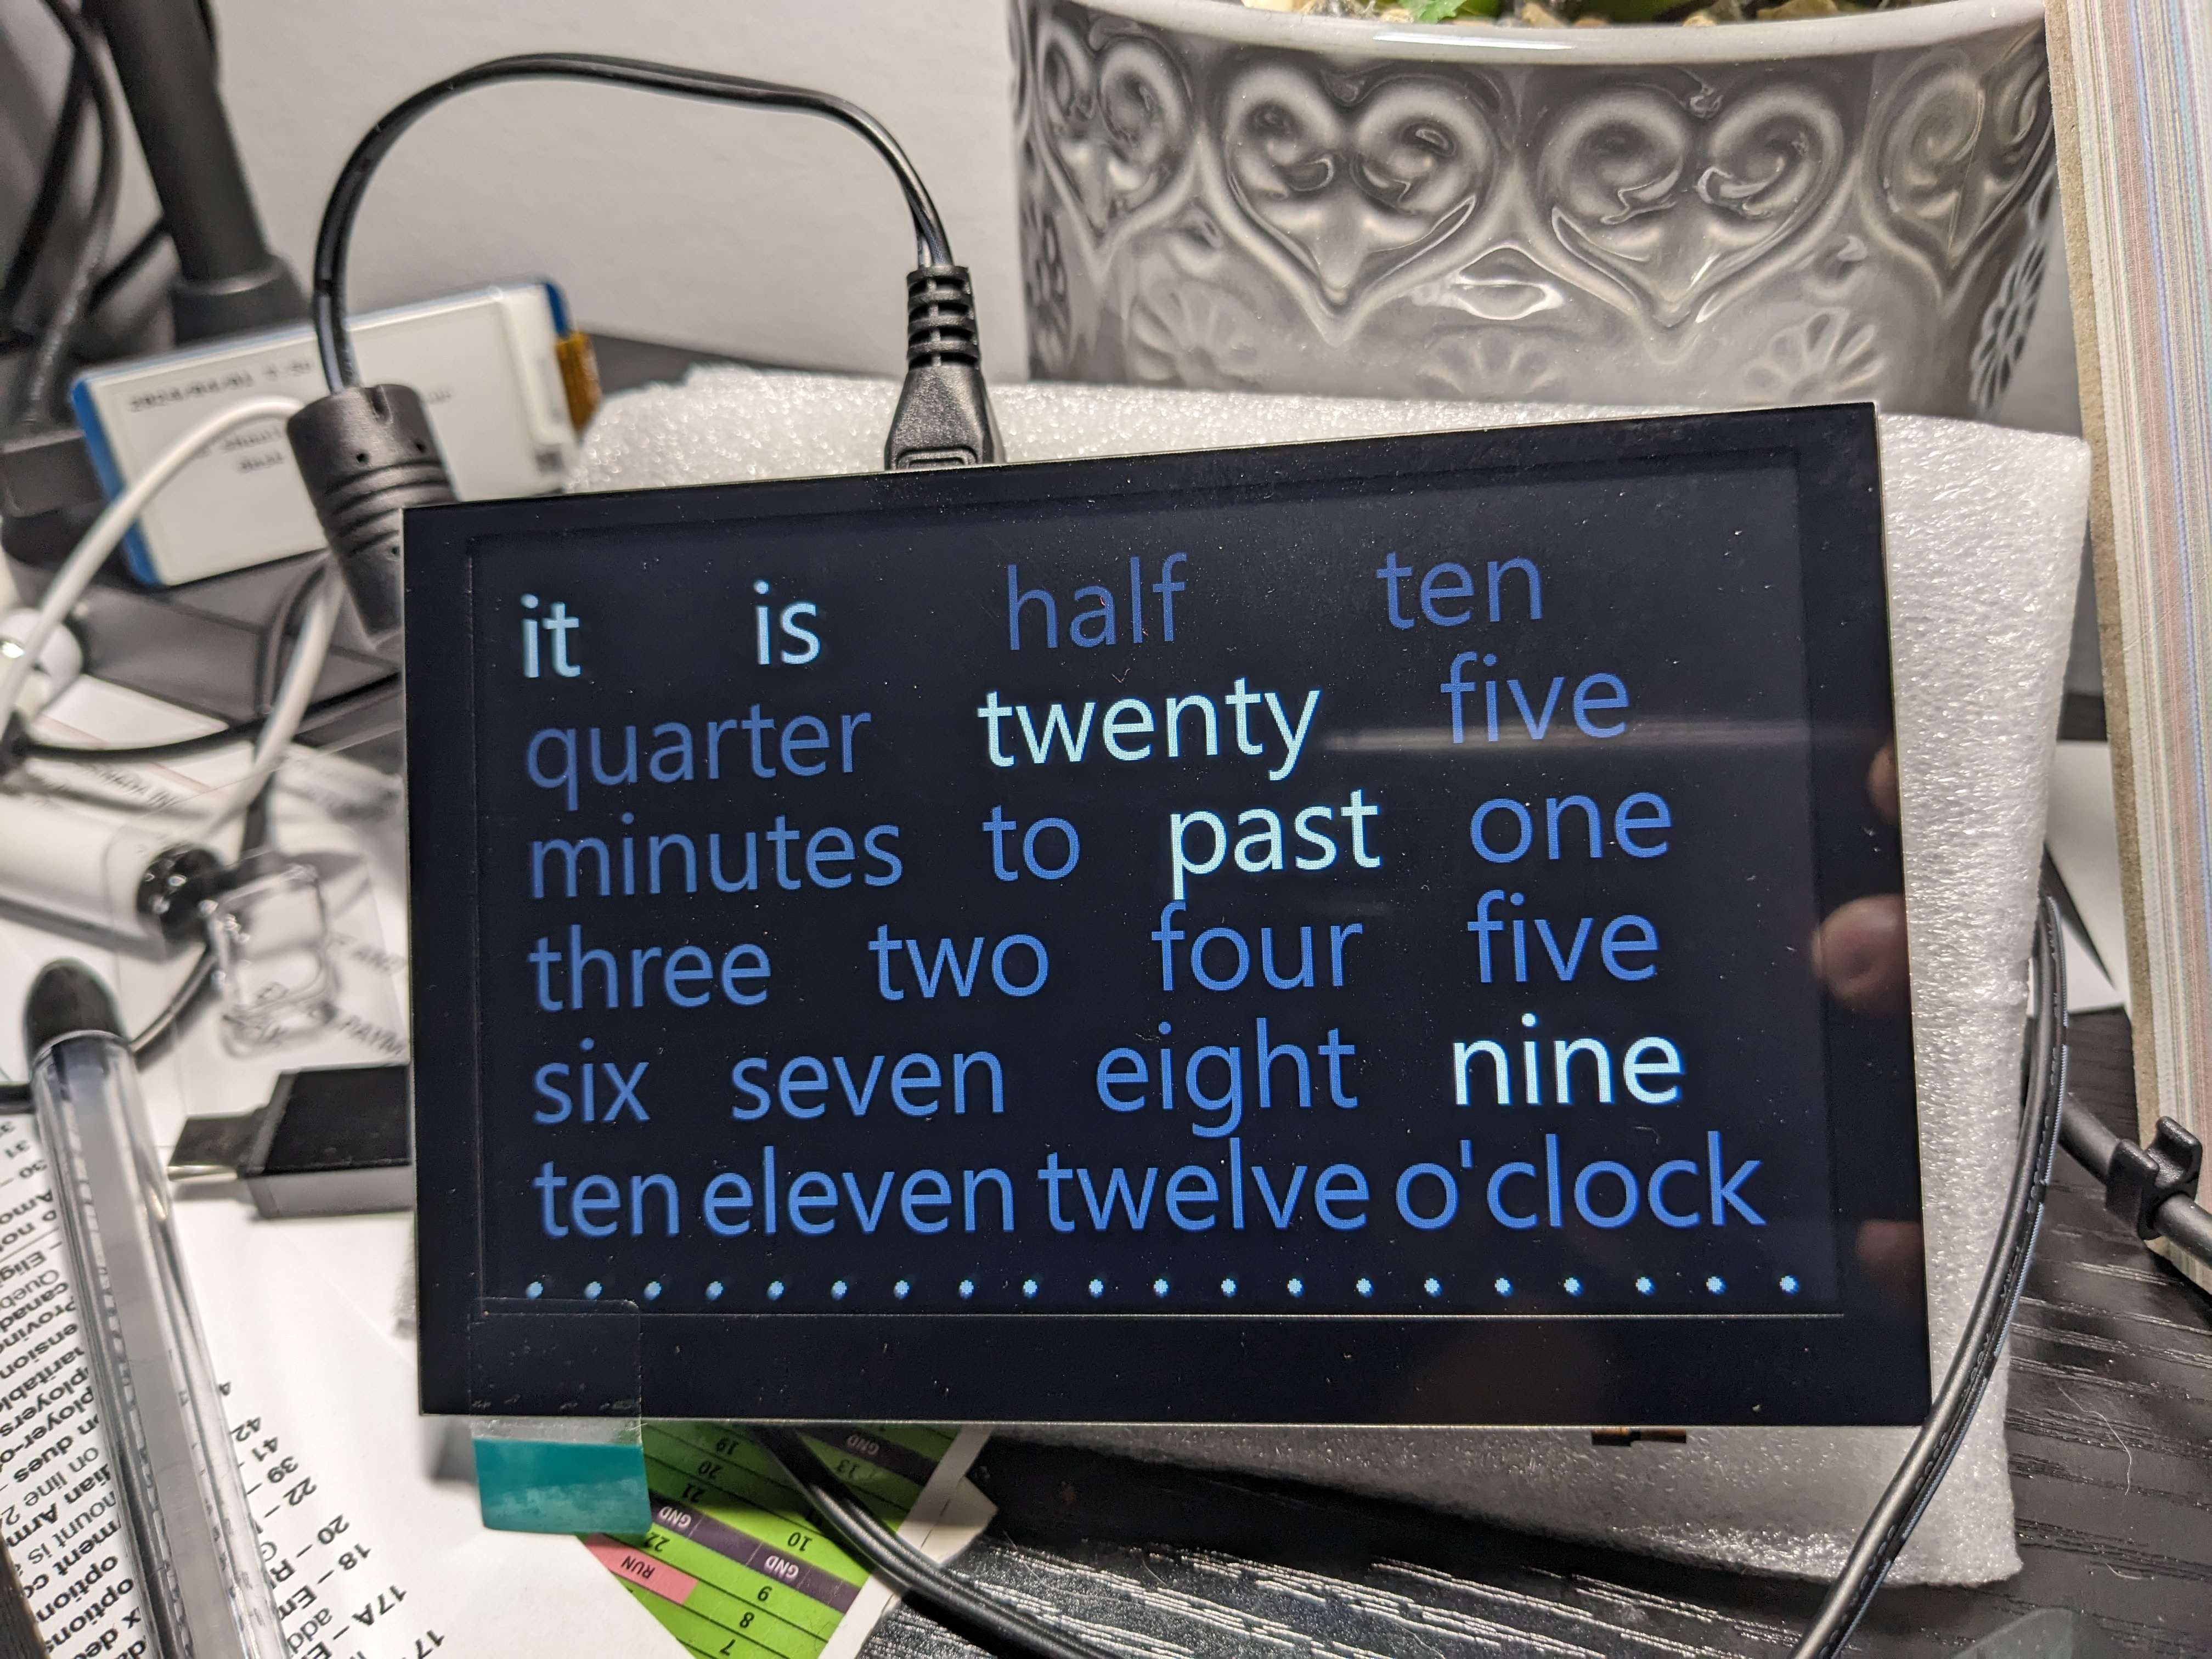
I’ve actually had made this project a number of years ago, but having recently acquired a new 7” display for my desk with a raspberry pi I thought it was a good time to revive the old project. I had to make a number of changes to the script to support the current version of pygame and python, but overall it works the same. Diving into the code:
pygame.init()
pygame.mixer.quit()
size = (pygame.display.Info().current_w, pygame.display.Info().current_h)
scr = pygame.display.set_mode(size, pygame.FULLSCREEN)
scr.fill((0, 0, 0))
pygame.font.init()
pygame.display.update()
First off we initialize a full-screen pygame screen buffer, and fill it with black (0,0,0), disabling the sound mixer and initializing the font libraries in the process.
# main loop
while 1:
    hour = int(strftime("%I", localtime()))
    minute = int(strftime("%M", localtime()))
    if(minute >= 35):
        hour = (1 if hour == 12 else hour + 1)
    dw(["it", "is", "half", "ten"], [1,1,
        (1 if minute >= 30 and minute < 35 else 0),
        (1 if (minute >= 10 and minute < 15) or (minute >=50 and minute < 55) else 0)], line1)
    dw(["quarter", "twenty", "five"], [
        (1 if minute >= 15 and minute < 20 or minute >= 45 and minute < 50 else 0),
        (1 if minute >= 20 and minute < 30 or minute >= 35 and minute < 45 else 0),
        (1 if minute >= 5 and minute < 10 or minute >= 25 and minute < 30 or minute >= 35 and minute < 40 or minute >= 55 else 0)], line2)
    dw(["minutes", "to", "past", "one"], [
        (1 if minute >= 35 and minute < 45 or minute >= 50 else 0),
        (1 if minute >= 35 else 0),
        (1 if minute < 35 and minute >= 5 else 0),
        (1 if hour == 1 else 0)], line3)
    dw(["three", "two", "four", "five"], [(1 if hour == 3 else 0),(1 if hour == 2 else 0),(1 if hour == 4 else 0),(1 if hour == 5 else 0)], line4)
    dw(["six", "seven", "eight", "nine"], [(1 if hour == 6 else 0),(1 if hour == 7 else 0),(1 if hour == 8 else 0),(1 if hour == 9 else 0)], line5)
    dw(["ten", "eleven", "twelve", "o'clock"], [(1 if hour == 10 else 0),(1 if hour == 11 else 0),(1 if hour == 12 else 0),(1 if minute >= 0 and minute < 5 else 0)], line6)
    drawDotLine()
    pygame.display.update()
    time.sleep(1)
We fetch the current hour and minute as an integer so we can determine which words to highlight when we render the current time, and then fire off a helper method dw() with a few arrays and a “y-coordinate” to draw the line on. The first array is the words we’re going to draw on that line, and the second array is an array of 0s and 1s based on whether we want the word in that position to be highlighted. We ascertain that through in-line if statements, returning a 0 or a 1.
Finally, we draw the dot line (more on this below), update the display from the in-memory buffer we’ve been modifying, and sleep for a second. Despite the fact the word clock only technically updates every 5 minutes, the dot line animates a bit every few seconds, hence the smaller sleep.
This part is a bit interesting as it serves as a programmatical representation of the different ways we describe the time in English. The words on the word clock change every 5 minutes or so, and we use certain words in certain situations - the phrases “quarter to”, “quarter past”, “o’clock” are all used in very specific minute ranges as expressed in the code above.
This could be optimized to not redraw the entire word section of the screen every second, but the pygame update() function does a good job of actually determining which pixels need to be updated based on the current and proposed screen buffer contents, so there likely won’t be much savings there.
Let’s take a more in-depth look at the dw() method
def dw(texts, ons, y):
    rs = []
    totalwidth = 0
    for (i, text) in enumerate(texts):
        r = font.render(text, True, bkgcolor)
        rs.append(r)
        totalwidth += r.get_width()
    leftover = (800 - totalwidth - (buffer * 2)) / len(texts)
    offset = buffer
    for (i, r) in enumerate(rs):
        screen.scr.blit(r, (offset, y))
        if(ons[i] == 1):
            screen.scr.blit(font.render(texts[i], True, fgcolor), (offset, y))
        offset += r.get_width() + leftover
This is the method that actually draws each line of text on the screen. We first loop through the words we want to draw on the screen, rendering them in-memory to determine their width, and adding the in-memory surface to an array. We’re doing this so we can determine how to space the words out along the X axis; this is done in the next line outside of the for loop. The screen width 800 minus the total width of the words we’re drawing totalwidth, subtracted by the buffer variable that represents the padding on both sides of the line gives us the total amount of “white space”, which we then divide by the number of words we’re drawing. All that gives us a nice value we can use as padding between each of the rendered words.
Then we define offset, which represents where on the X axis we should start drawing the next word (starting it at buffer’s position of course to add padding to the left side). For each word in our list of in-memory word surfaces, we draw the word to the screen, determine if we should highlight the word based on the boolean array we passed in (and if so, drawing over top of the original word with the foreground color), and then incrementing our offset by the length of the word we drew and the padding amount we determined previously.
def drawDotLine():
    second = int(strftime("%S", localtime()))
    circleSpace = (800 - (buffer * 2)) / (dots - 1)
    offset = buffer
    for x in range(0, dots):
        if(second / (60 / dots) >= x):
            pygame.draw.circle(screen.scr, fgcolor, (offset, circleY), circleRadius, 0)
        else:
            pygame.draw.circle(screen.scr, bkgcolor, (offset, circleY), circleRadius, 0)
        offset += circleSpace
The dot line method was added afterwards as a way for me to make sure my pygame clock wasn’t frozen for 5 minutes :) It adds a number of dots to the bottom of the screen based on the seconds component of the current time, filling them in if it’s been that portion of a minute. Following a similar pattern to the dw() method, we determine the dead space between each dot and use that as a gap size to space out the dots on the line, drawing each of them with either the foreground color or background color depending on what fraction of 60 seconds has passed.
The nice thing about this approach is I can easily change the number of dots I’d like to draw at the bottom (currently defined in variable dots) or how big I’d like to draw them (circleRadius) and I wouldn’t have to rewrite the code at all, it’ll just automatically scale their position on the X axis accordingly.